How to Level Your RV Without a Leveling System

Jake has spent 8 years full-timing in a Class A motorhome and has personally tested hundreds of RV products across North America. He is the lead gear reviewer at Shop RV Gear, covering solar setups, backup safety syst…
Why trust us
Every product featured on Shop RV Gear is researched by RV owners with real on-road experience. Our lead reviewer Jake Morris has full-timed for 8 years and personally tested gear across 40+ states. We earn a small commission on qualifying purchases — this never influences our picks.
🛠 What you'll need
-
 View on Amazon →RVMATE 12 Pack RV Leveling Blocks, Heavy Duty Camper Leveling Blocks, Levelers for RVs, Reduce Trailer Movement, Trailer Leveling Blocks,RV Leveling System Great for Single and Dual Wheels$32.87
 -
 View on Amazon →Tri-Lynx Lynx Levelers RV/Trailer/Motorhome/Vanlife interlocking Leveling Blocks with Nylon Storage Bag for most Leveling and Stabilizing functions. 10 Pack, Orange, 00015, Made in USA.$33.18
 -
 View on Amazon →MaxxHaul Solid Rubber Wheel Chock 2-Pack | 8" x 4" x 6" Heavy-Duty Tire Stop | Non-Slip Traction Pads | Built-in Handle | All-Weather Vehicle Safety Block | Black | (70472)$15.99
 -
 View on Amazon →Magnetic RV Bubble Level, Mini Self-Adhesive T Type Small Leveler Indicator for RV Camper Travel Trailer Motorhome Leveling Blocks Accessories Tool$9.99
How to Level Your RV Without a Leveling System
If you’re searching for how to level an RV manually, the good news is that the process is simple once you have the right tools and a clear routine. Whether you drive a motorhome or tow a travel trailer, proper leveling improves comfort, protects appliances, and helps your RV feel stable at camp. In this Shop RV Gear guide, we’ll show you exactly how to do it safely, plus the best leveling products to consider.
Comparison Table: Best Manual RV Leveling Gear
| Product Type | Best For | Pros | Cons | Verdict |
|---|---|---|---|---|
| Stackable leveling blocks | Travel trailers, fifth wheels, motorhomes | Flexible height, widely available, easy to store | Takes more setup time, can shift on soft ground | Best all-around choice |
| Curved levelers | Single-axle and tandem-axle trailers | Fast, precise, easy drive-on leveling | Higher cost, not ideal for every tire setup | Best for quick setup |
| Wooden boards | Budget campers | Cheap, easy to find | Heavy, can crack, less consistent | Good emergency option |
| Plastic ramp levelers | Motorhomes and trailers | Simple to use, sturdy, repeatable | Bulkier than blocks | Good for frequent campers |
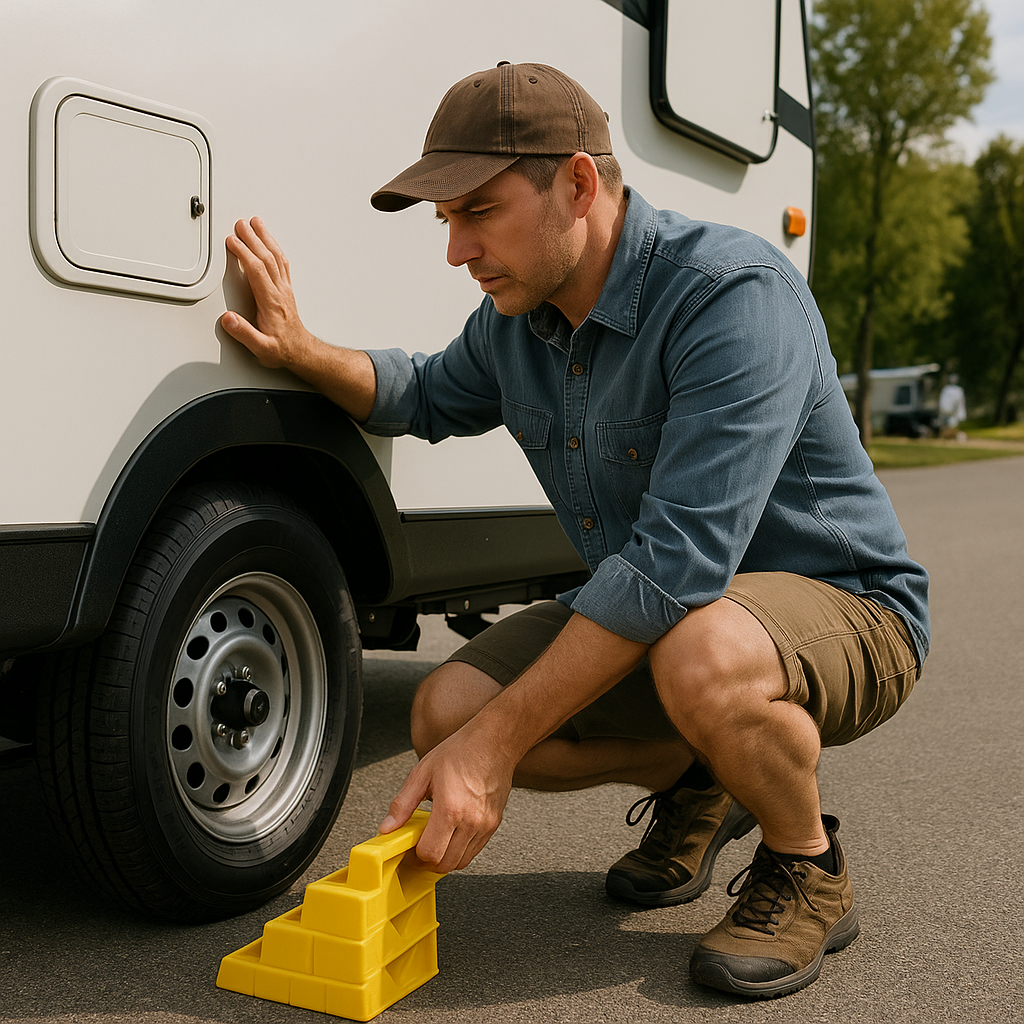
1. Stackable Leveling Blocks
Pros:

- Highly versatile
- Works for many RV types
- Lets you build custom height
- Usually affordable
Cons:
- Requires trial and error
- Can be messy on muddy campsites
Best pick for: RV owners who want a dependable, budget-friendly option.
2. Curved Levelers
Pros:

- Very fast setup
- Fine-tuned leveling
- Great for frequent travelers
Cons:
- Costs more than standard blocks
- Some tandem axle trailers may need extra clearance
Best pick for: Campers who move often and want the quickest manual leveling method.
3. Wooden Boards
Pros:
- Inexpensive
- Easy to replace
- Useful in a pinch
Cons:
- Bulky and heavy
- Less durable over time
- Can absorb water and splinter
Best pick for: Backup use or occasional campers on a tight budget.
Clear Verdict
For most RV owners, stackable leveling blocks offer the best mix of price, flexibility, and ease of use. If you camp frequently and want a faster process, curved levelers are worth the upgrade.
Key Takeaways
- Manual leveling is affordable, reliable, and easy to learn.
- You’ll typically need leveling blocks, wheel chocks, and a bubble level.
- Side-to-side leveling usually comes first, followed by front-to-back leveling.
- Never rely on stabilizer jacks to level your RV.
- Recheck level after chocking and unhitching to make sure the RV stays stable.
Why Proper RV Leveling Matters
Leveling your RV is about more than comfort. A level rig helps with:
- Sleeping comfort: Nobody wants to slide to one side of the bed.
- Appliance performance: Absorption refrigerators in particular perform best when level.
- Shower and sink drainage: Water drains properly when the RV is even.
- Door operation: Interior and exterior doors work better on level ground.
- Overall stability: A properly leveled RV feels safer and less wobbly.
If your RV doesn’t have an automatic leveling system, manual leveling is the next best thing—and for many RV owners, it’s all they ever need.
Materials You’ll Need
Before you start, gather these basic items:
- RV leveling blocks or ramps
- Wheel chocks
- Bubble level or app-based level
- Tongue jack or trailer jack for towables
- Built-in jacks if your motorhome has manual jacks
- Gloves for handling blocks and chocks
- Flashlight if setting up in low light
Optional but Helpful
- Andersen-style curved levelers
- Lynx-style stackable leveling blocks
- A small carpenter’s level for countertops or floors
- Rubber mats for slippery campsites
Best Gear for Manual RV Leveling
Choosing the right gear makes manual leveling faster and less frustrating. Here’s a side-by-side comparison of popular options.
How to Level an RV Manually: Step-by-Step
The exact process depends on whether you have a towable RV or a motorhome, but the basic sequence stays the same.
Step 1: Pick the Flattest Spot Possible
Before placing blocks, choose the most level section of your campsite. Even a small adjustment at this stage can reduce how many blocks you need.
Practical tip: If one side of the site slopes badly, try repositioning the RV before you begin.
Step 2: Check Side-to-Side Level
Place a bubble level on the RV floor, countertop, or bumper. For towables, side-to-side leveling comes first because it’s harder to fix after unhitching.
Determine which side is low. That’s the side that will need blocks or a leveler under the tires.
Step 3: Position the Leveling Blocks or Ramps
Set your blocks or curved leveler in front of or behind the low-side tire, depending on whether you need to pull forward or back up.
For stackable blocks:
- Start with one or two layers
- Build a stable, pyramid-like shape if needed
- Keep the stack wide and secure
Step 4: Drive Onto the Blocks Slowly
Move the RV slowly onto the blocks. If you have a spotter, this is much easier and safer.
- Pull forward gently
- Stop and check the level
- Add or remove height if needed
- Repeat until side-to-side level is correct
Safety tip: Never let your spotter stand directly in front of or behind the RV while it’s moving.
Step 5: Chock the Wheels
Once side-to-side level is correct, place wheel chocks firmly against the tires on both sides where appropriate.
This step is critical. Chocks help prevent unwanted rolling while you finish leveling.
Step 6: Level Front-to-Back
Now adjust front-to-back level.
For Travel Trailers and Fifth Wheels
Use the tongue jack or landing gear to raise or lower the front of the RV until the bubble level reads level.
For Motorhomes
Drive onto front or rear leveling blocks as needed, then recheck. If your motorhome has manual jacks, use them according to the manufacturer’s instructions—but remember, some systems are for stabilizing rather than true leveling.
Step 7: Lower Stabilizers Last
Once the RV is level, deploy stabilizer jacks or stabilizer arms.
Important: Stabilizers are meant to reduce movement, not lift the RV into level position. Using them to level can bend components or damage the frame.
Step 8: Recheck Everything
Walk inside the RV and confirm:
- The floor feels even
- Doors swing normally
- Refrigerator is level enough to operate
- Chocks are secure
- Blocks are stable on the ground
A final check takes only a minute and can prevent problems later.
Safety Tips for Manual RV Leveling
Manual leveling is straightforward, but safety always comes first.
Use a Spotter Whenever Possible
A second person can guide tire placement and help you stop at the correct point on the blocks.
Avoid Excessive Stacking
If you need too many blocks to level the RV, the site may be too uneven. Overstacking can create instability.
Don’t Crawl Under an Unsecured RV
Never get under the RV unless it is properly secured and supported with equipment designed for that purpose.
Chock Before Unhitching
For towables, always chock the wheels before disconnecting from the tow vehicle.
Watch Soft Ground Conditions
Mud, sand, or wet grass can cause blocks to sink. Use wider pads or reposition if necessary.
Common Manual Leveling Mistakes to Avoid
Using Stabilizers as Leveling Jacks
This is one of the most common mistakes. Stabilizers are not designed to lift significant weight.
Guessing Instead of Measuring
Eyeballing level may work sometimes, but a bubble level is far more accurate.
Forgetting to Recheck After Unhitching
Towables can shift slightly when disconnected, so always check level again.
Rushing the Process
A few extra minutes during setup can save you from an uncomfortable stay.
Buyers Guide: What to Look for in RV Leveling Gear
When shopping for manual leveling products, focus on these factors:
Weight Capacity
Make sure the blocks or ramps are rated for your RV’s tire load and overall weight.
Compatibility
Some levelers work better with single-axle trailers than tandem-axle setups. Always check fit before buying.
Surface Grip
Textured surfaces help reduce tire slippage, especially in wet conditions.
Storage Size
If basement storage is limited, compact stackable blocks may be easier to carry than larger ramps.
Ease of Use
Frequent travelers often prefer solutions that reduce setup time, even if they cost more.
Practical Advice for Easier Campsite Setup
- Keep your leveling gear in one dedicated storage bin.
- Mark your favorite bubble level spot inside the RV for consistent readings.
- Practice at home on a driveway before your next trip.
- Carry extra blocks for campsites with uneven pads.
- Replace cracked or damaged levelers right away.
FAQ
1. Can I level my RV with just stabilizer jacks?
No. Stabilizer jacks are designed to reduce movement, not to level the RV. Use leveling blocks, ramps, or the trailer jack first, then lower stabilizers afterward.
2. How level does an RV need to be?
It should be level enough for comfortable living, proper drainage, and safe refrigerator operation. It does not have to be mathematically perfect, but it should be close.
3. What is the easiest way to level an RV manually?
For many RV owners, curved levelers are the easiest because you simply drive onto them until the RV is level. Stackable blocks are more versatile and often more affordable.
Final Thoughts
Learning how to level an RV manually is one of the most useful campsite skills you can have. With a bubble level, solid wheel chocks, and the right leveling blocks, you can set up safely without relying on an automatic system. For most campers, stackable leveling blocks are the best all-around buy, while curved levelers are ideal if speed and convenience matter most.
At Shop RV Gear, we recommend building a simple leveling kit before your next trip so you can handle uneven campsites with confidence.